Your Sourdough Journey, Guided Step by Step.
Clear, grounded, no fluff:
You didn’t buy tools — you bought a process. This space is where your kit comes to life: clear video guides, structured recipes, and weekly guidance that takes you from first mix to confident baker.Whether you’re baking your very first loaf or refining your technique, everything here is designed to move you forward — calmly and intentionally.
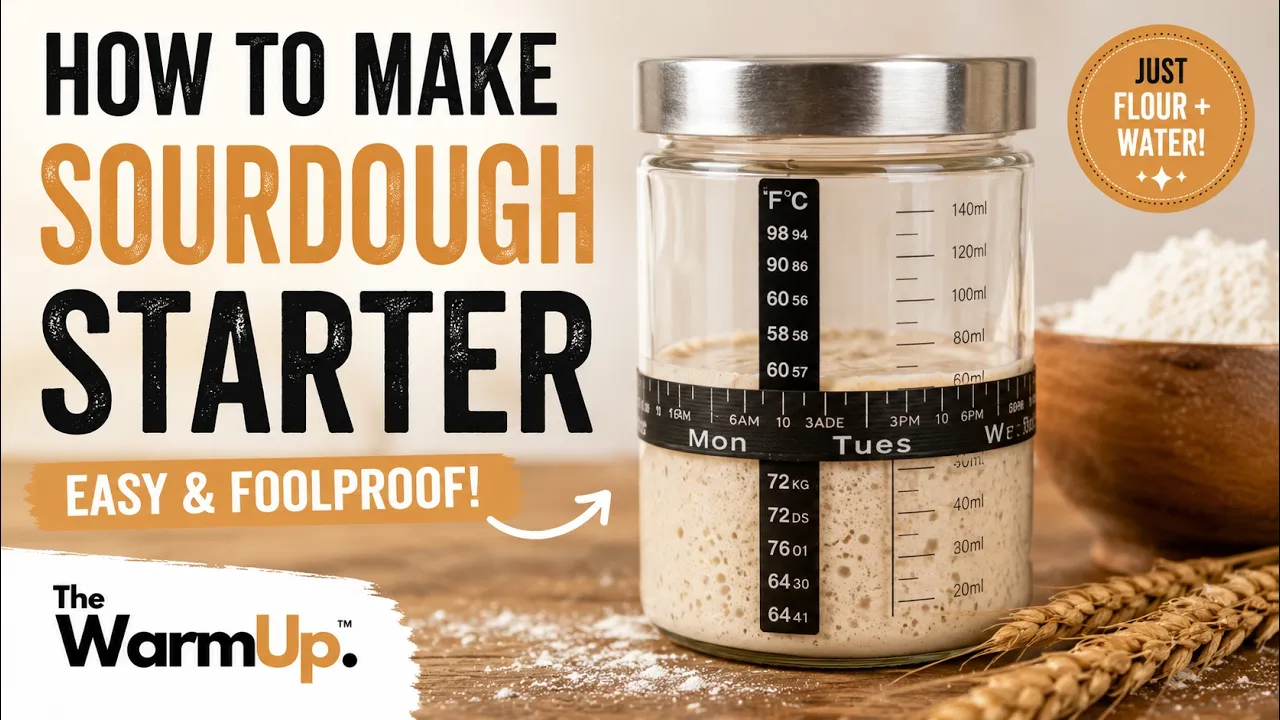
Sourdough Starter - Your First Starter
Your starter is your bubbly little baking buddy. I’ll show you how to feed it, keep it happy, and watch it come to life—no stress, just patience.
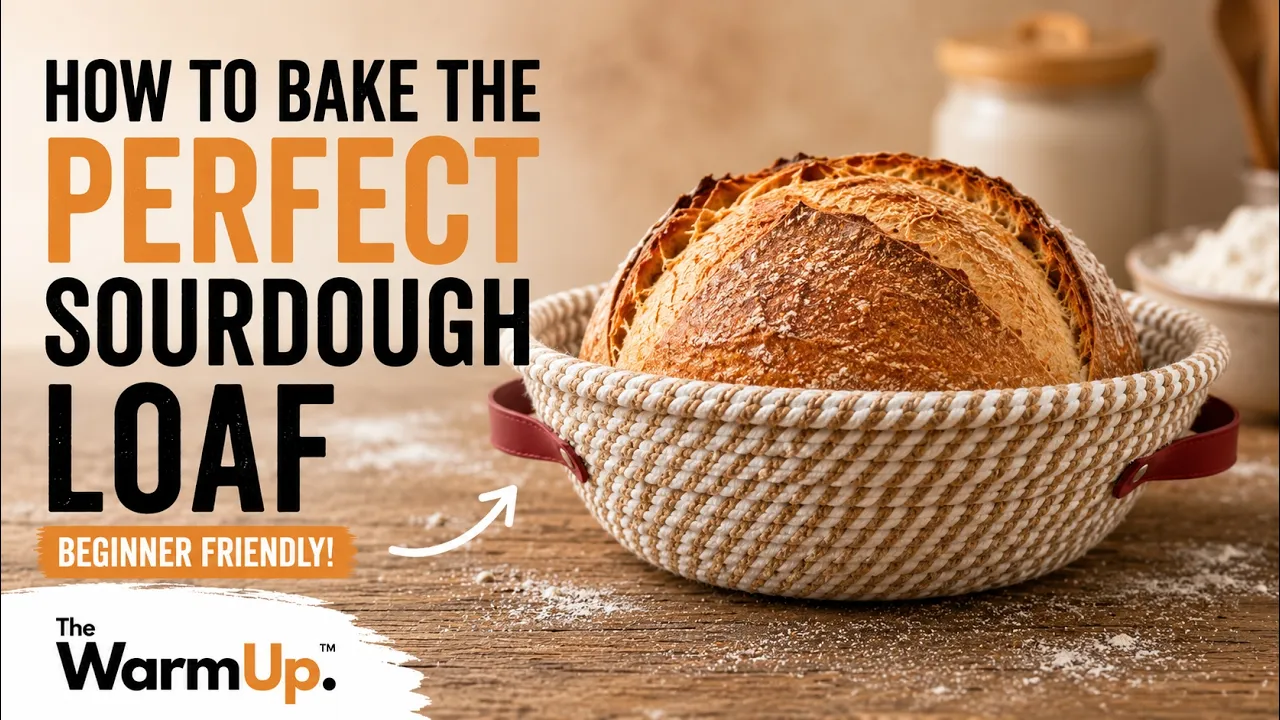
Classic loaf - Your First Sourdough Loaf
This is the everyday loaf that feels special every time. Crisp crust, soft center, and the kind of bread you’ll want to slice while it’s still warm.
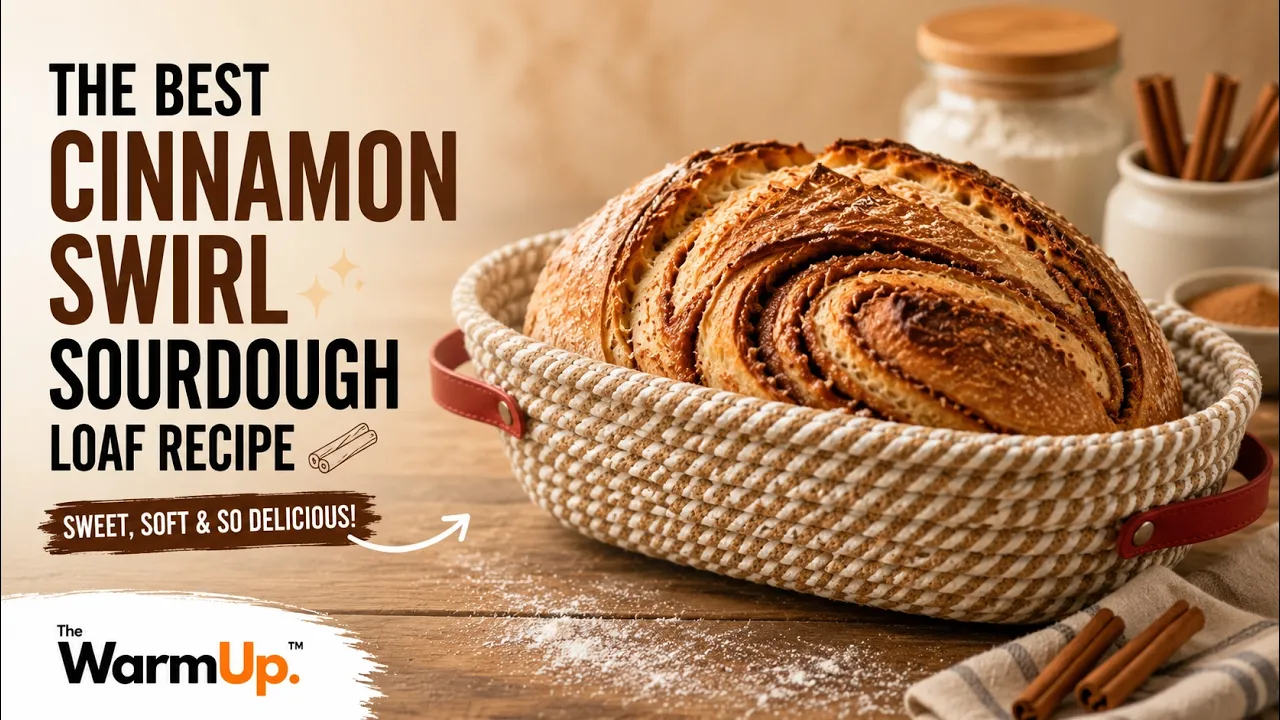
Cinnamon Sourdough
Cinnamon sourdough is pure comfort—warm spice, gentle tang, and a kitchen that smells like a hug. Let’s bake a loaf that’s perfect for cozy mornings and toasty slices.
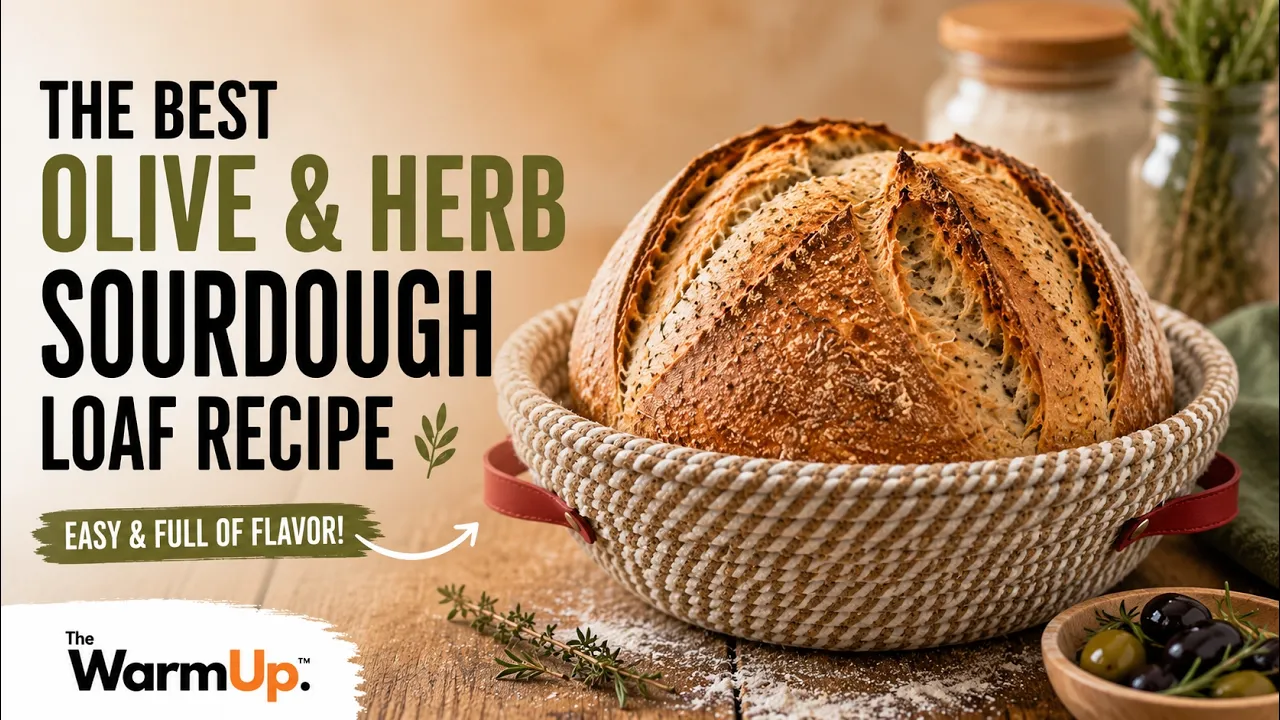
Olive & Herb Sourdough — A Confident Next Bake
Savory, herby, and packed with little olive surprises, this loaf feels like something you’d share at the table with good company. Simple steps, big cozy flavor.
You’re all set!
We’ve just sent you this week’s sourdough recipe — it should land in your inbox in a few minutes.If you don’t see it, take a quick look in your spam or promotions folder and move it to your inbox so you don’t miss future recipes.
Soft & Beginner-Proof Sourdough Dinner Rolls
What You’ll Use From Your Kit
Dough whisk — for quick, clean mixing
Bowl scraper — to gather and fold the dough
Silicone brush — to brush the tops before baking
Bread sling — for safe transfer if
you’re baking on a tray or in a Dutch oven.
Ingredients
➜ 150g active sourdough starter
➜ 250g warm water
➜ 30g sugar (optional but improves softness)
➜ 40g neutral oil or melted butter
➜ 500g bread flour
➜ 8g salt
Instructions
1. Mix the Dough (5 minutes)
- Use your dough whisk to mix: starter → water → sugar → oil.
- Add flour and salt, then whisk until combined.
- Finish gathering with your bowl scraper.2. First Rise (2–4 hours)
- Cover and let the dough rise until slightly puffy, not necessarily doubled.3. Chill (Optional but ideal)
Refrigerate 1–12 hours for easier shaping.4. Shape the Rolls
- Divide into small pieces (50–70g each).
- Use your bowl scraper to round them into tight balls.5. Second Rise (1–2 hours)
- Place the rolls on parchment or your bread sling.
- Let them rise until soft and slightly domed.6. Brush the Tops
- Use your silicone brush to lightly apply milk, water, or oil.7. Bake
- Bake at 375°F / 190°C for 18–22 minutes until golden and lightly soft.
Tips for Success
- If your rolls crack while shaping, rest the dough 10 minutes and continue.
- If they brown too fast, loosely tent with foil.
- for sweeter rolls: add 10–20g extra sugar.
NEXT WEEK, YOU’LL LEVEL UP WITH A MEDITERRANEAN-INSPIRED BAKE — GOLDEN, FRAGRANT, AND HARD TO RESIST. STAY TUNED!
Sheet-Pan Sourdough Focaccia with Olive Oil & Herbs
What You’ll Use From Your Kit
Dough whisk (mixing the wet dough)
Bowl scraper (transferring and folding)
Bread sling (lining your sheet pan)
Silicone brush (to apply olive oil before and after baking)
Ingredients
➜ 200g active sourdough starter
➜ 450g warm water
➜ 20g olive oil (plus more for drizzling)
➜ 550g bread flour
➜ 10g salt
➜ Dried or fresh herbs (rosemary, thyme, oregano)
➜ Optional toppings: cherry tomatoes, garlic, olives
Instructions
1. Mix the Dough
Use your dough whisk to mix starter, water, oil, then flour and salt.
It will be sticky — that’s normal.2. Rest & Fold
Over 1 hour, perform 2–3 quick folds with your bowl scraper.
Just lift, fold, done.3. Transfer & Dimple
Line your tray with parchment or your bread sling, spread the dough gently, and drizzle oil on top.
Press your fingers in to create the classic focaccia “dimples.”4. Final Rise
Let it rise until puffy and jiggly.5. Bake
Bake at 220°C / 430°F for 20–25 minutes, until golden and crisp around the edges.
Serving Tips
- Brush warm focaccia with a light coat of oil using your silicone brush.
- Sprinkle herbs or flakey salt right after baking.
- Cut into thick squares — it’s perfect with soup, dips, or as sandwich bread.
Next week, you’ll learn how to shape a simple oval sourdough loaf using your cotton-rope banneton — a skill that brings you closer to those artisan-style breads you’re aiming for.
Soft Sourdough Sandwich Loaf
What You’ll Use From Your Kit
Dough whisk — for clean, quick mixing
Bowl scraper — for lifting, folding, and shaping
Silicone brush — to coat the top before/after baking
Bread sling — to line your baking tray or support the dough during transfer
Ingredients
➜ 150g active sourdough starter
➜ 270g warm milk or water
➜ 25g sugar (optional, adds softness)
➜ 40g melted butter or oil
➜ 500g bread flour
➜ 8g salt
Instructions
1. Mix the Dough
Using your dough whisk, combine starter → milk/water → sugar → butter/oil.
Add flour and salt until everything comes together.
Finish gathering the dough with your bowl scraper.2. First Rise
Cover and let rise 2–4 hours, until slightly puffy.3. Shape the Loaf
Turn the dough onto your counter using your bowl scraper.
Roll it into a tight log (this helps create a tall loaf).
Place into a greased loaf pan or onto parchment/bread sling.4. Final Rise
Let it rise until it crowns just over the edge of the pan.5. Brush the Top
Use your silicone brush to apply a thin layer of milk or water for color.6. Bake
Bake at 180°C / 355°F for 30–35 minutes, until golden and springy.
Serving Tips
- Perfect for toast, grilled sandwiches, French toast, or simple butter-and-jam.
- For softer crust: brush the top with butter right after baking.
Classic Country Oval Sourdough (Bâtard)
What You’ll Use From Your Kit
Dough whisk — for mixing the dough
Bowl scraper — for folding and shaping
10" Oval Cotton-Rope Banneton — to support the loaf during its final rise
Bread sling — for safe transfer into the oven
Ingredients
➜ 150g active sourdough starter
➜ 350g warm water
➜ 500g bread flour
➜ 10g salt
Instructions
1. Mix the Dough
Use your dough whisk to combine starter and water.
Add flour and salt, mixing until a shaggy dough forms.2. Strengthen the Dough
Over the next 2 hours, perform several folds using your bowl scraper to build structure.3. Pre-Shape
Gently shape the dough into a loose round and let it rest for about 20 minutes.4. Final Shape (Oval)
Using your bowl scraper, shape the dough into a tight oval loaf.5. Proof in the Banneton
Place the dough seam-side up into your oval cotton-rope banneton, lightly dusted with flour.6. Bake
Transfer the loaf using your bread sling, score the top, and bake in a preheated oven until deeply golden and crisp.
next week
Next week, we’ll add flavor and texture with a seeded artisan sourdough loaf — a simple way to elevate your bread while continuing to refine your shaping technique.
Seeded Artisan Sourdough Boule with Crunchy Crust
What You’ll Use From Your Kit
Dough whisk — for mixing everything evenly
Bowl scraper — for folding and shaping
10” Round Cotton-Rope Banneton — to support your boule during proofing
Bread sling — for clean and safe transfer into the oven
Ingredients
➜ 150g active sourdough starter
➜ 350g warm water
➜ 500g bread flour
➜ 10g salt
➜ 50–80g mixed seeds (sesame, sunflower, flax, etc.)
Instructions
1. Mix the Dough
Use your dough whisk to combine starter and water.
Add flour, salt, and seeds, mixing until fully incorporated.2. Build Strength
Over the next 2 hours, perform a few folds using your bowl scraper to strengthen the dough.3. Shape the Boule
Shape the dough into a tight round, focusing on creating surface tension.4. Proof in Banneton
Place seam-side up into your round cotton-rope banneton, lightly floured.5. Bake
Transfer using your bread sling, score the top, and bake until deeply golden with a crisp crust.
next week
Next week, we’ll shift from loaves to something more shareable: Garlic & Herb Tear-and-Share Sourdough Dinner Rolls, perfect for serving and practicing consistent shaping.
Garlic & Herb Tear-and-Share
Sourdough Dinner Rolls
What You’ll Use From Your Kit
Dough whisk — for mixing the dough
Bowl scraper — for dividing and shaping
Silicone brush — for applying garlic herb coating
Bread sling — for lining your tray
Ingredients
➜ 150g active sourdough starter
➜ 260g warm water or milk
➜ 30g olive oil or melted butter
➜ 500g bread flour
➜ 8g salt
➜ 2–3 cloves garlic (minced)
➜ Mixed herbs (parsley, thyme, oregano)
➜ Extra oil or butter for brushing
Instructions
1. Mix the Dough
Use your dough whisk to combine starter, liquid, and oil.
Add flour and salt, mixing until a soft dough forms.2. First Rise
Let the dough rise for 2–4 hours until slightly puffy.3. Divide & Shape
Use your bowl scraper to divide into equal pieces.
Shape each into a smooth ball and place close together on your lined tray.4. Second Rise
Let the rolls rise until soft and touching.5. Garlic Herb Finish
Mix garlic, herbs, and oil/butter.
Use your silicone brush to coat the tops generously.6. Bake
Bake at 190°C / 375°F for 18–22 minutes, until golden.
next week
Next week, you’ll step into a more advanced technique with a high-hydration open-crumb country loaf — the key to achieving that light, airy interior you see in artisan bakeries.
High-Hydration Open-Crumb Country Loaf
What You’ll Use From Your Kit
Dough whisk — for initial mixing
Bowl scraper — essential for handling sticky dough
10” Round Cotton-Rope Banneton — to support structure during proofing
Bread sling — for clean, confident transfer into the oven
Ingredients
➜ 150g active sourdough starter
➜ 375–400g warm water
➜ 500g bread flour
➜ 10g salt
Instructions
1. Mix the Dough
Use your dough whisk to combine starter and water.
Add flour and salt — expect a very sticky dough.2. Build Strength with Folds
Over 2–3 hours, perform multiple gentle folds using your bowl scraper.
This step is key — structure comes from technique, not kneading.3. Bulk Fermentation
Let the dough rise until noticeably airy and expanded.4. Shape Carefully
Use your bowl scraper to gently shape into a tight round without deflating too much gas.5. Proof in Banneton
Place into your round cotton-rope banneton, seam-side up.6. Bake
Transfer using your bread sling, score, and bake hot until deeply golden with a crisp crust.
next week
Next week, we’ll switch things up with a more relaxed and fun format: thin-crust sourdough pan pizza — a perfect way to apply your dough-handling skills in a different way.If this dough feels challenging at first, that’s normal. Reply anytime if you need help — this is where real progress happens.
Thin-Crust Sourdough Pan Pizza Night
What You’ll Use From Your Kit
Dough whisk — for mixing the dough
Bowl scraper — for handling and transferring
Silicone brush — for coating the pan and finishing crust
Flour duster — to prevent sticking while shaping
Ingredients
➜ 150g active sourdough starter
➜ 300g warm water
➜ 30g olive oil
➜ 500g bread flour
➜ 10g salt
➜ Tomato sauce
➜ Cheese of choice
➜ Toppings (vegetables, herbs, etc.)
Instructions
1. Mix the Dough
Use your dough whisk to combine starter, water, and oil.
Add flour and salt until a soft, slightly sticky dough forms.2. First Rise
Let the dough rise for 3–5 hours until airy and relaxed.3. Prepare the Pan
Lightly oil your pan using your silicone brush.4. Shape the Dough
Transfer using your bowl scraper and gently stretch into a thin layer.
Use your flour duster if needed to prevent sticking.5. Add Toppings
Spread sauce, add cheese, and your toppings.6. Bake
Bake at 230°C / 445°F for 12–18 minutes, until edges are crisp and golden.
next week
Next week, you’ll shape and bake rustic sourdough baguette-style batons — a step toward longer, more refined loaves with a classic artisan feel.If you try this one, feel free to reply and share your toppings — I’d love to see what you create.
Rustic Sourdough “Baguette-Style” Batons
What You’ll Use From Your Kit
Dough whisk — for mixing
Bowl scraper — for dividing and shaping
Flour duster — to prevent sticking while working with longer dough pieces
Bread sling — for transferring into the oven
Ingredients
➜ 150g active sourdough starter
➜ 350g warm water
➜ 500g bread flour
➜ 10g salt
Instructions
1. Mix the Dough
Use your dough whisk to combine starter and water.
Add flour and salt until a cohesive dough forms.2. Build Strength
Perform folds over 2–3 hours using your bowl scraper until the dough feels elastic and smooth.3. Divide the Dough
Use your bowl scraper to divide into equal portions.4. Shape into Batons
Gently roll each portion into a long, even shape.
Use your flour duster lightly to prevent sticking.5. Final Rise
Let the batons rest and rise until slightly puffy.6. Bake
Transfer using your bread sling, score along the length, and bake hot until golden and crisp.
next week
Next week, you’ll finish your journey with something creative and versatile: a celebration swirled sourdough loaf, where you can experiment with sweet or savory fillings.If you try these batons, feel free to reply and share how they turned out.
Celebration Swirled Sourdough Loaf (Sweet or Savory Filling)
What You’ll Use From Your Kit
Dough whisk — for mixing your base dough
Bowl scraper — for shaping and handling
10” Round or 10” Oval Banneton — for final proofing
Bread sling — for clean transfer into the oven
Silicone brush — for finishing touches before or after baking
Ingredients
➜ 150g active sourdough starter
➜ 350g warm water
➜ 500g bread flour
➜ 10g salt
➜ Filling of your choice (sweet or savory)
Instructions
1. Mix the Dough
Use your dough whisk to combine starter and water.
Add flour and salt until a smooth dough forms.2. Build Strength
Perform folds over 2–3 hours using your bowl scraper.3. Add the Filling & Shape
Flatten the dough slightly, add your filling, then roll and shape into a tight loaf.4. Proof in Banneton
Place into your banneton, seam-side up.5. Bake
Transfer using your bread sling, score if needed, and bake until golden and fully cooked through.
Closing
This is the final recipe in your journey — and you’ve come a long way.From your first mix to shaping, hydration, and now creative loaves, you’ve built real skill and confidence. That doesn’t happen by accident.We’re genuinely glad to have been part of your sourdough journey.From here, it’s yours: keep baking, experimenting, and refining.
And if you ever need help or want to share what you create, you can always reply; we’re here.
privacy policy
Privacy Notice — Report PullerLast updated: 2026-07-14Report Puller is a private, internal tool used to retrieve advertising performance
and campaign reports from a single Amazon Advertising account via the Amazon Ads API,
on behalf of the account owner.What data this tool accessesVia the Amazon Ads API, this tool accesses:
- Sponsored Products, Sponsored Brands, and Sponsored Display campaign structure
and performance data (impressions, clicks, cost, sales, etc.) for the advertising
account(s) the account owner has explicitly authorized.How the data is used and stored- Retrieved reports are saved locally, as files, on the device running the tool.
- Data is not transmitted to, stored on, or shared with any third-party server,
service, or organization other than Amazon itself.
- Data is not sold, rented, or used for advertising or marketing purposes.
- Access is limited to the account owner and the individual operating this tool on
the account owner's behalf.Revoking accessThe account owner can revoke this tool's access at any time from their Amazon
developer/advertising account settings (Login with Amazon → Manage Your Apps).Contact
Questions about this tool or this notice: [email protected]